Easy Yeast Dinner Rolls – Fluffy and Delicious!
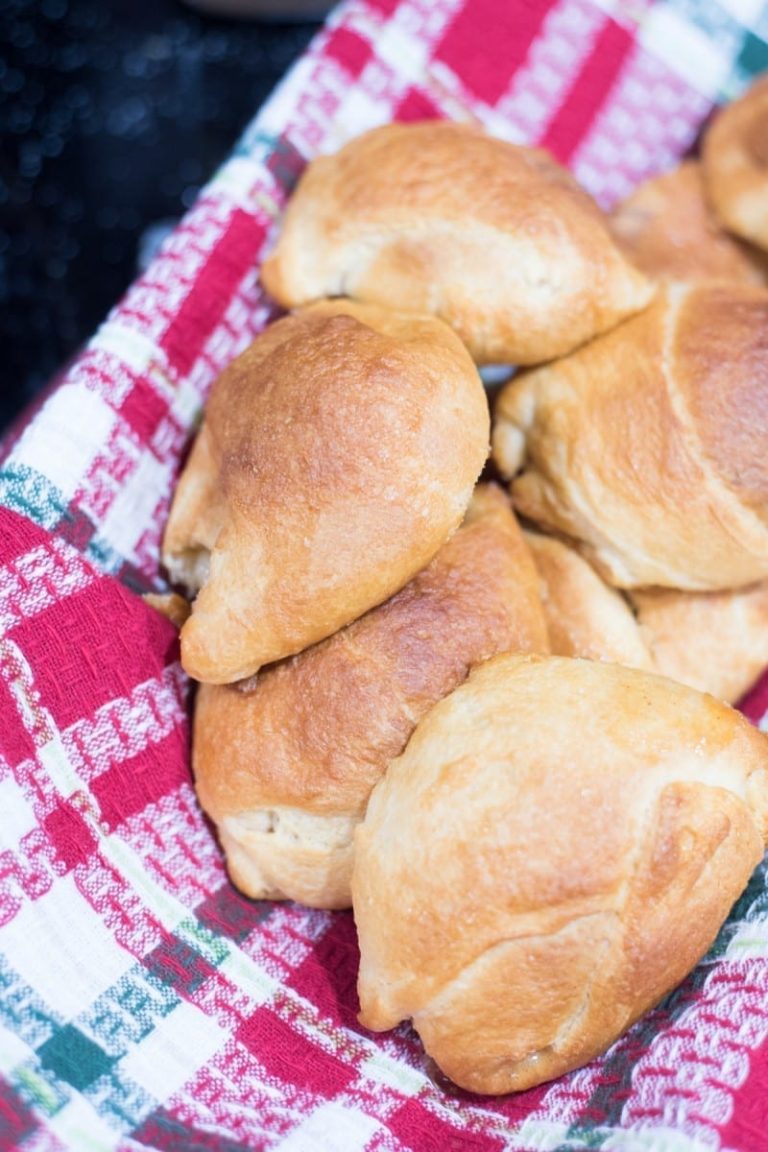
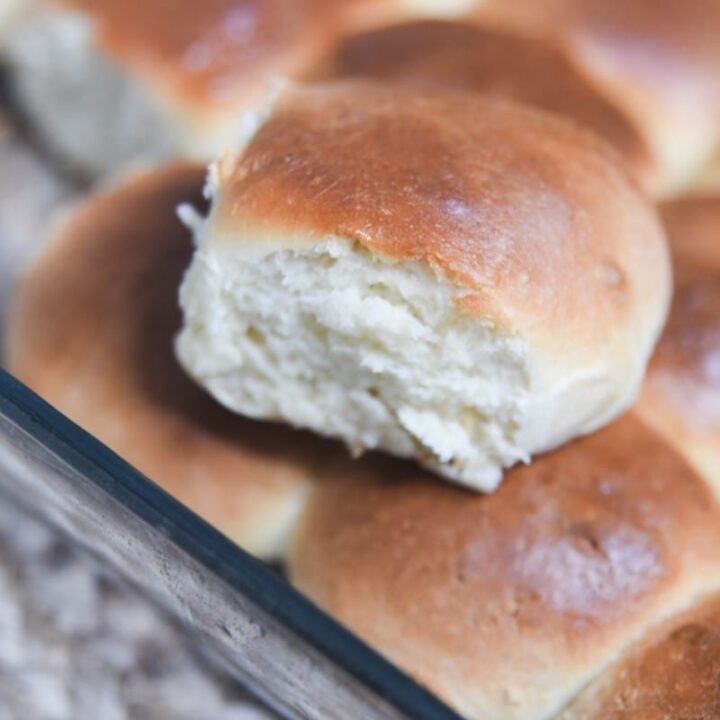
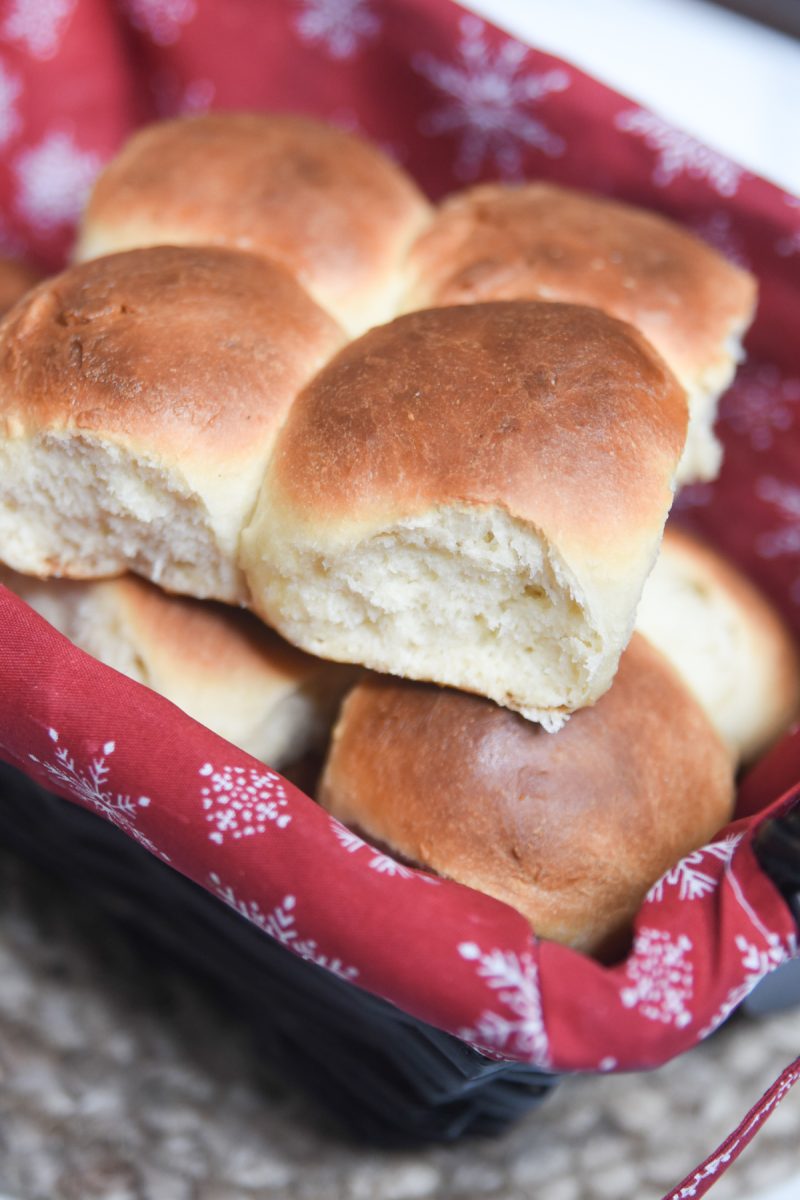
Dinner rolls are the perfect finish to any meal! They perfectly compliment so many dishes. This recipe for yeast dinner rolls is a simple way to enjoy homemade, mouth-watering rolls!
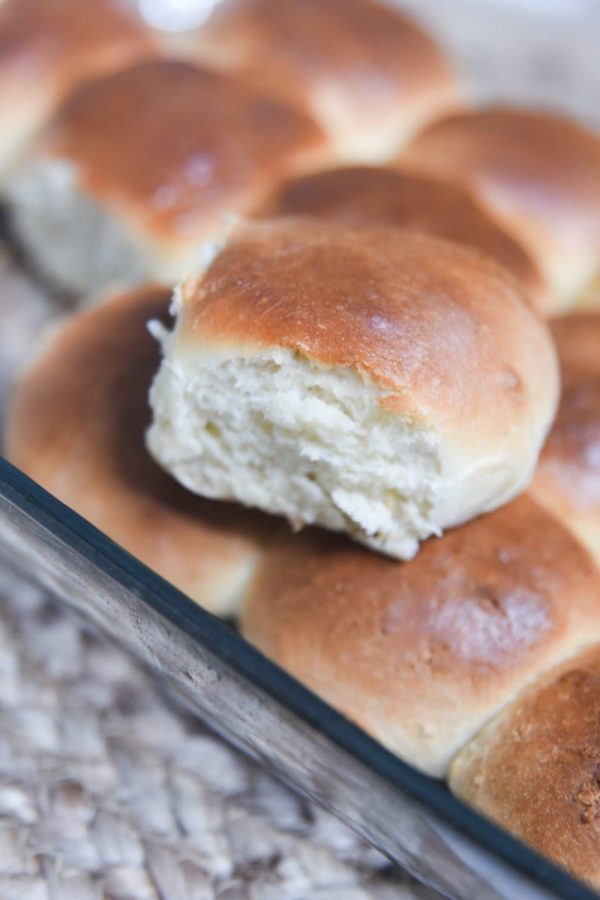
How to Make Delicious Yeast Dinner Rolls
Ever since I was a kid, I’ve loved rolls. My family most often ate rolls for sunday dinner, which made them even more of a treat. Maybe it’s my love of carbs or my love of baked goods, but rolls always seem to hit the spot.
Like many people, we often had Rhodes bake and serve. I’m not knocking on frozen rolls—they certainly have their time and place! But if you’re looking for something more homemade…this recipe is perfect!
Making rolls can be a little daunting. Rest assured, it’s not as bad as you think. Follow this recipe for a do-able way to enjoy yeast rolls to compliment a hearty lunch or dinner.
what are yeast dinner rolls?
Some rolls are made without yeast, although most use yeast. Yeast is responsible for levitating rolls (aka making sure they rise). The yeast combines with the flour and then releases carbon dioxide. This causes the dough to then rise.
Yeast gives baked goods the great texture and shape that we love and enjoy.
what goes well with rolls?
As I said earlier, rolls go with just about anything. They are great when sopping up soup or slathered with honey and butter for a sweet treat. I also love chowing on rolls the day after Thanksgiving to eat up those leftovers! Here are some great dishes that you can serve alongside these rolls:
- Green Bean Casserole
- Instant Pot Red Skin Mashed Potatoes
- Instant Pot Ham
- Slow Cooker Lasagna Soup
- Copycat Panera Harvest Soup
what mixer do you use?
I personally use a Kitchen Aid Artisan most often, but I also have a Bosch Universal Mixer, which is great. That is my choice for doubling (or tripling, quadrupling, etc) this recipe.
If you are using a stand mixer, make sure you have a dough hook. It will make it a lot easier.
Alternatively, you can use a hand mixer that has a dough hook attachment, or you can do it the old fashioned way by hand. That will require hand kneading as well – I would get a Danish Dough Whisk as well.
Can I freeze the dough?
Yes. If you find yourself having more dough than you need, it’s okay to freeze it. However, it must be stored airtightly and not for too long. Store them on a baking sheet (with wax paper on the bottom) and cover with plastic wrap. I recommend only freezing them for 3-4 weeks max.
Ingredients
- 1.5 cups milk
- 2 1/4 teaspoon instant yeast
- 1/4 cup melted butter, cooled to room temp
- 1/4 cup white sugar
- 1 large egg
- 1 teaspoon salt
- 3-4 cups flour
Instructions
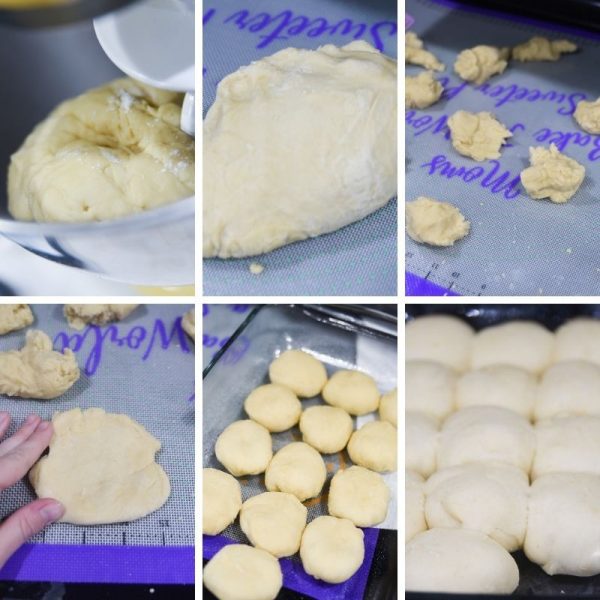
- In the bowl of a stand mixer or large mixing bowl, mix milk, yeast, butter, sugar, egg, and salt. If you don’t have a stand mixer, mix vigorously with a wooden spoon or hand mixer.
- Add in flour 1/2 cup at a time, mixing well between each addition. Stop adding flour when it is no longer sticky.
- Use your mixer’s dough hook attachment for 10 minutes or knead by hand.
- Place in a buttered bowl and let rise in a warm spot until doubled. This can take a few hours at room temperature, but it can go faster if you turn the oven to 200, turn it off, and then place the bowl in the oven (make sure it’s turned off!)
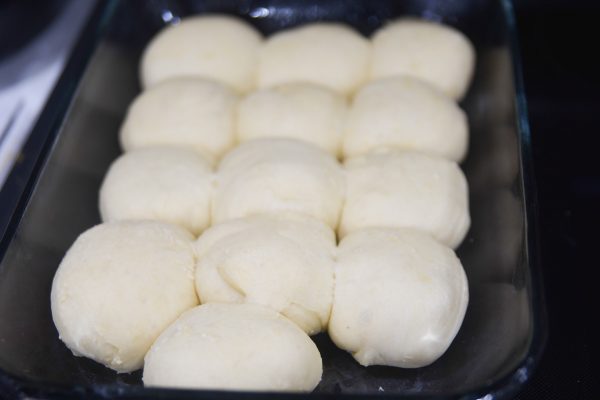
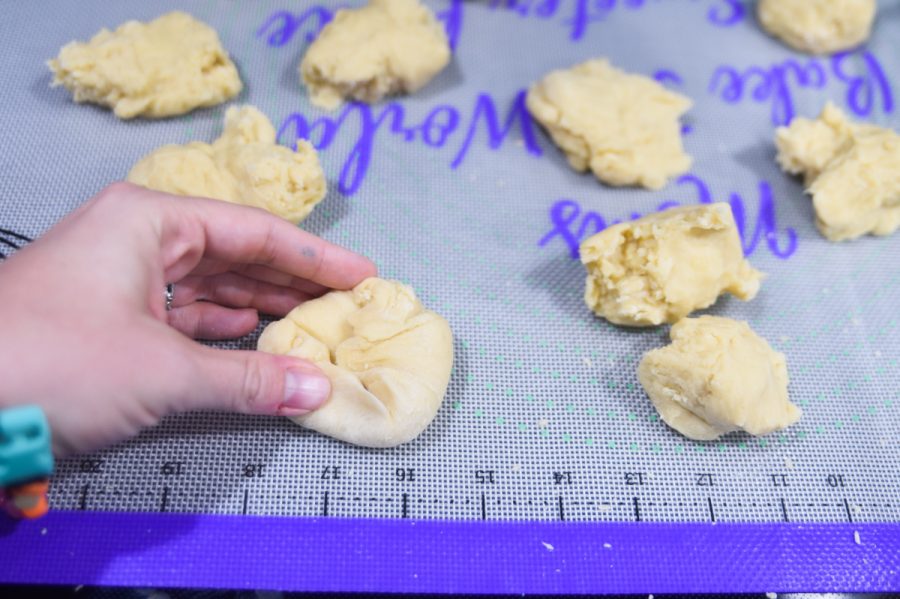
- After dough has risen, punch down gently and divide into 12 equal pieces.
- Form the dough pieces into a roll.
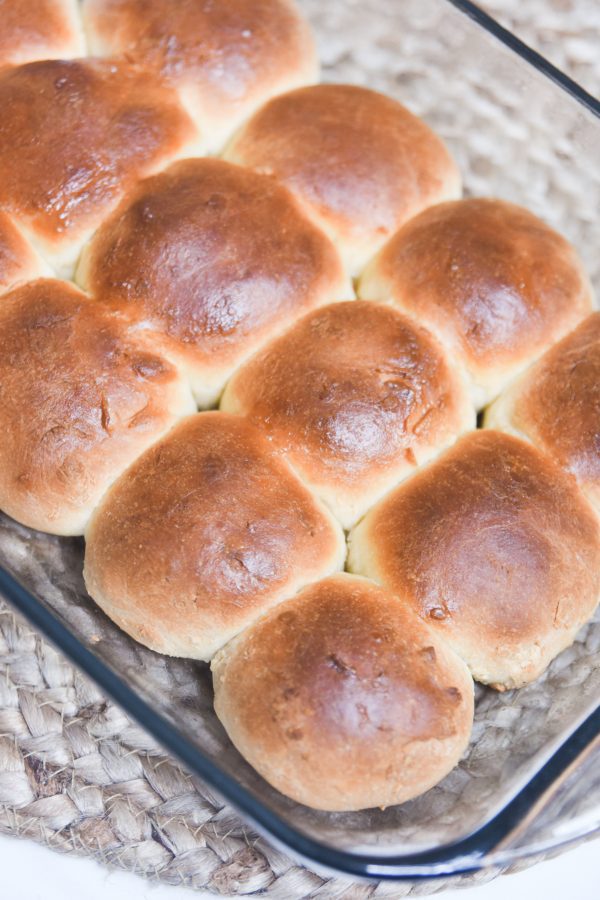
- Place rolls in a greased 9×13 glass dish.
- Let rise until doubled (again, using the oven trick can make it go faster).
- Once rolls have risen, bake at 375F for 18-25 minutes.
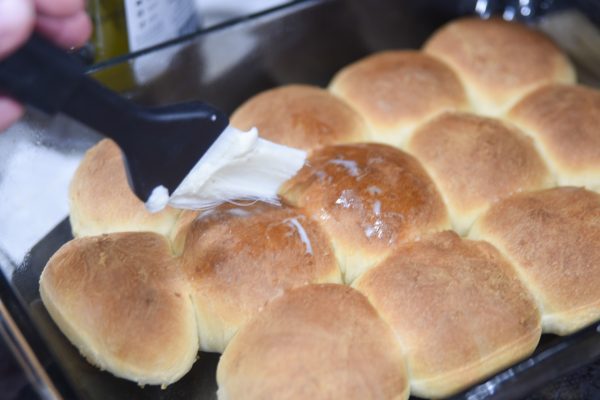
- Brush with butter.
Classic Yeast Dinner Rolls
Ingredients
- 1.5 cups milk
- 2 1/4 teaspoon instant yeast
- 1/4 cup melted butter, cooled to room temp
- 1/4 cup white sugar
- 1 large egg
- 1 teaspoon salt
- 3-4 cups flour
Instructions
In the bowl of a stand mixer or large mixing bowl, mix milk, yeast, butter, sugar, egg, and salt. If you don’t have a stand mixer, mix vigorously with a wooden spoon or hand mixer.
Add in flour 1/2 cup at a time, mixing well between each addition. Stop adding flour when it is no longer sticky.
Use your mixer’s dough hook attachment for 10 minutes or knead by hand.
Place in a buttered bowl and let rise in a warm spot until doubled. This can take a few hours at room temperature, but it can go faster if you turn the oven to 200, turn it off, and then place the bowl in the oven (make sure it’s turned off!)
After dough has risen, punch down gently and divide into 12 equal pieces.
Form the dough pieces into a roll.
Place rolls in a greased 9×13 glass dish.
Let rise until doubled (again, using the oven trick can make it go faster).
Once rolls have risen, bake at 375F for 18-25 minutes.
Brush with butter.
can you reheat these rolls?
Definitely! Admittedly, they’re best right out of the oven/the day of. However, they are still good the next day! If you’re good with very soft rolls, pop them in the microwave for a couple seconds.
Or, if you want to replicate them closer to how they’re meant to be, then toss them in the oven at 350F for a few minutes (anywhere from about 5 to 10 minutes). You can wrap them in foil or place them directly in the oven.
how do I make my rolls faster?
Heat! You don’t want to over-do it, but heat will speed up the leavening process. Make sure to put your rolls in the warmest part of the room, near a window or near a source of heat. See the instructions for details on how you can use your oven to also speed up the process.
Related Recipes
- The Ultimate Thanksgiving Dinner Planning Guide: Ideas, Recipes, and More!
- Homemade Sourdough Rolls — Super Fluffy!
- Amazing Legendary Lion House Rolls
- The BEST Quick Dinner Rolls Recipe — Ready in Less than an Hour
- Easy Resurrection Rolls with Honey Butter
If you’re a bread lover, you have to try this recipe. It’s the best way to bring homemade, mouth-watering rolls right to your dinner table!

