Beginning with Sourdough: Starter Guide
If you enjoy sourdough bread, are sensitive to more processed bread, or just don’t want to ever run out of yeast again…maintaining your own sourdough starter might be a good option! Here are all the best tips on how to make a sourdough starter and keep it going strong – including everything I wish I had known before I got started!
I love bread – especially homemade bread.
When my oldest child was two, I was introduced to the idea of natural yeast—or a sourdough starter.
The idea intrigued me, especially as I learned about the health benefits and how it’s easier for people sensitive to wheat/gluten to digest.
I was given an active starter from a friend, but I quickly got overwhelmed. We also ended up moving to a new state at the time, I got pregnant, and that was the end of it.
Over the years, I have tried sourdough several times, and it’s something I always enjoy. I’m not an expert, but I thought I’d share some of my experience to help you get started.
Table of Contents
- Getting Started with Sourdough
- Sourdough Starter Tips
- Try, Try Again
- Don’t throw away the discard
- Getting More Starter
- Rise time is a long time
- Don’t leave your window open
- Try different recipes
- It’s okay if the starter thicker
- Float test
- Sourdough isn’t always super sour
- Specks might be bubbles
- Use a Food Scale
- Tap water
- Converting Dry Yeast to Natural Yeast in Recipes
- Can Sourdough Starter Go Bad?
- Not For You? Try This
Getting Started with Sourdough
How to Make Sourdough Starter from Scratch
There are many ways to get started with a Sourdough Starter – and you can get your own with just some water, flour, and patience.
It does take about a week, and you have to be consistent – but it’s not hard to do. There are various recipes, but I found the King Arthur Sourdough Starter recipe to work really well.
Another option is to get a dehydrated starter. I did this recently, and it worked really well. I had a very active starter in just a few days. This is the brand I used.
Where to Buy Sourdough Starter
Don’t you have a friend who can give you anything, and don’t you want to make it yourself? You can buy sourdough starter kits! I’ve even seen people selling them on Facebook groups.
I have also seen some on Etsy. King Arthur Flour also sells some!
Feeding Your Sourdough Starter
To maintain your sourdough, you need to feed it regularly. When you first develop yours, it needs to be fed every 24 hours (sometimes more toward the end).
After that, you can choose to keep it on your countertop and use it regularly, or you can keep it in your fridge for 1-2 weeks and feed/bake it once a week or so.
Every time you feed it, you’ll need to wait between 4-12 hours for it to activate and be ready to bake.
There are a variety of methods for feeding your starter.
Most ratios for feeding your starter is 1:2:2 (old starter, flour, water – so 1/2 cup starter, 1/2 cup flour, 1/2 cup water). This is 100% hydration. However, I know others that do a 1:2:2 ratio. I recommend discarding about 1/2 of what your starter is when you start (see more about discard below) and then feeding equal parts water and flour.
If you need more starter for your recipe, you can use a smaller amount of starter with a higher ratio of flour and water (1:5:5). I would recommend taking that amount out of your jar and feeding it separately for your dishes, then feed your starter to maintain it at the 1:1:1 ratio.
Remember to save some of it, though—you don’t want to bake with all your starter.
You’ll mix it until it’s a thick, pancake-like texture and let it sit out for several hours. If you are just feeding it just to maintain it, after it gets bubbly, you can either discard the extra and just keep a couple of tablespoons in the fridge, or you can bake with it.
I typically try and keep about 1/2 cup of my starter in the fridge, though I know some people try and keep an even smaller amount of just 1-2 tabpesoons.
How to Store Sourdough Starter
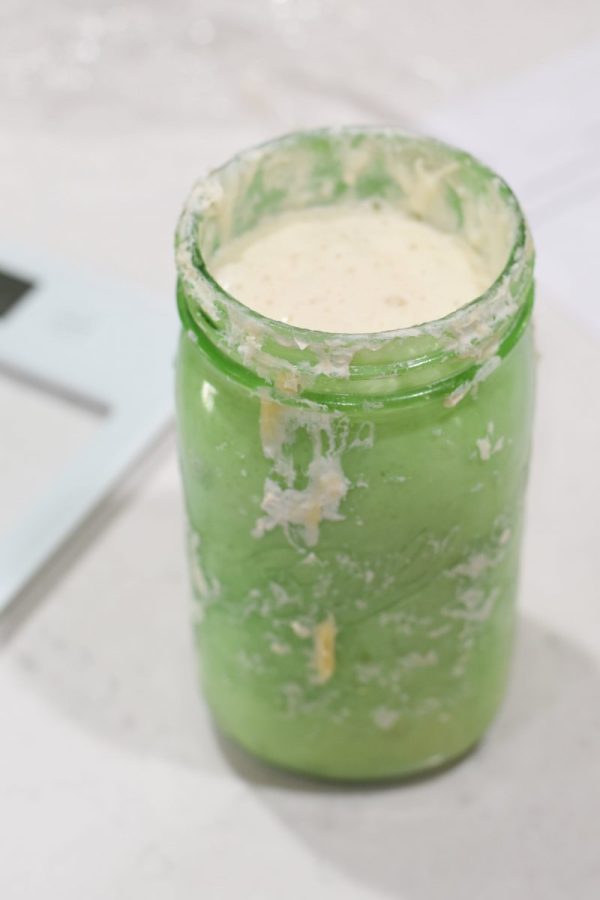
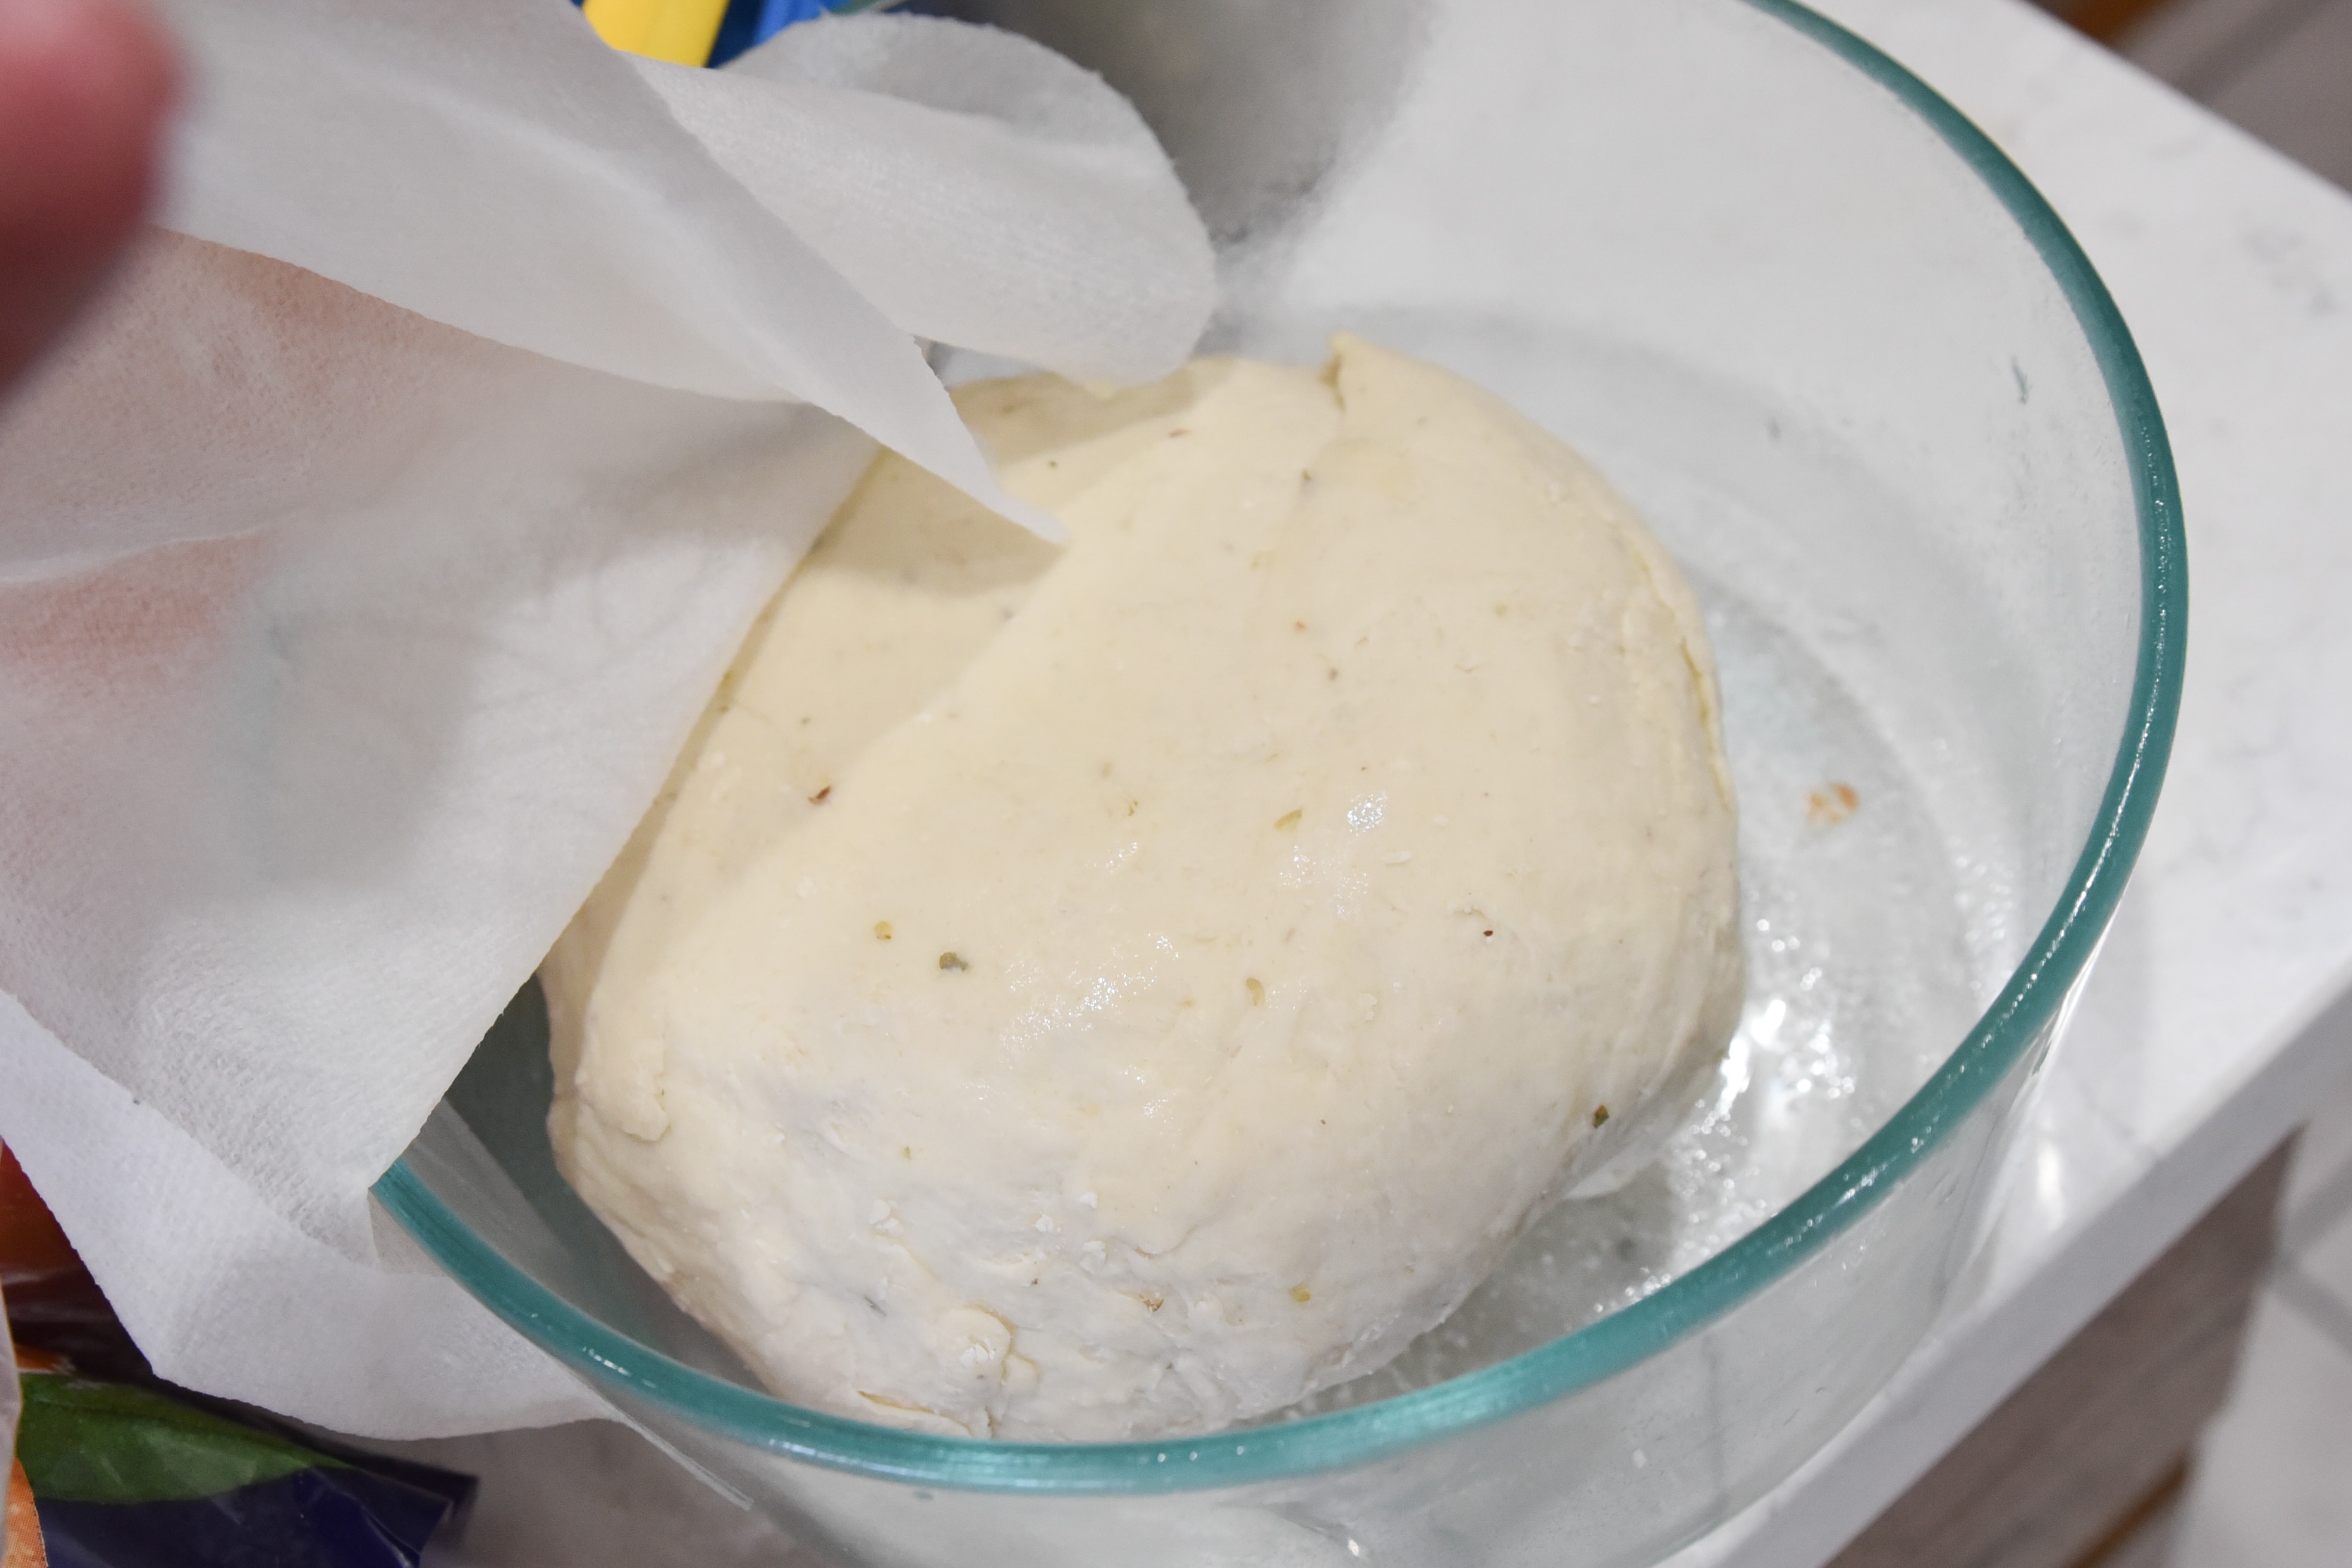
I recommend using a large mason jar or other glass container to store your sourdough starter—about 64 ounces would be ideal.
You need something that it can get bigger in without overflowing and that you can put a lid on—if you plan to refrigerate it.
When it’s sitting out, I recommend just having some plastic wrap loosely draped over the top.
You can leave it on your countertop if you want to bake pretty much every day. Otherwise, you will want to read my instructions below for refrigerating and freezing it.
Refrigerating and Freezing Sourdough Starter
So what if you don’t want to bake sourdough every? single. day. Most of us don’t.
Fortunately, you can easily store your starter in the refrigerator. I feed mine once a week, though some recommend twice a week. Mine seems pretty strong with just a once-a-week feeding.
You want to store it with a loose lid. I keep my starter in a glass mason jar, so I loosely cover it between feedings.
When you want to use it, take it out about 12 hours before starting your dough. Let it sit at room temperature for a few hours, then feed it. It should start getting nice and active pretty quickly.
Refrigerating your starter is a good option for anyone wanting to bake just a few times a month (or even once a month).
If you aren’t planning to make sourdough for a while or frequently, freezing is a good option. I wish I had known about doing this with my starter years ago.
Place one cup in a freezer-safe bag or container to freeze your sourdough starter. It can take up to about a week for it to become fully active again.
Sourdough Starter Smell
An active sourdough starter should smell yeasty and a bit sour – but it shouldn’t smell bad or unpleasant.
Other Helpful Tools
Here a few tools that I find especially helpful when making sourdough bread:
Stand Mixer with Dough Hook
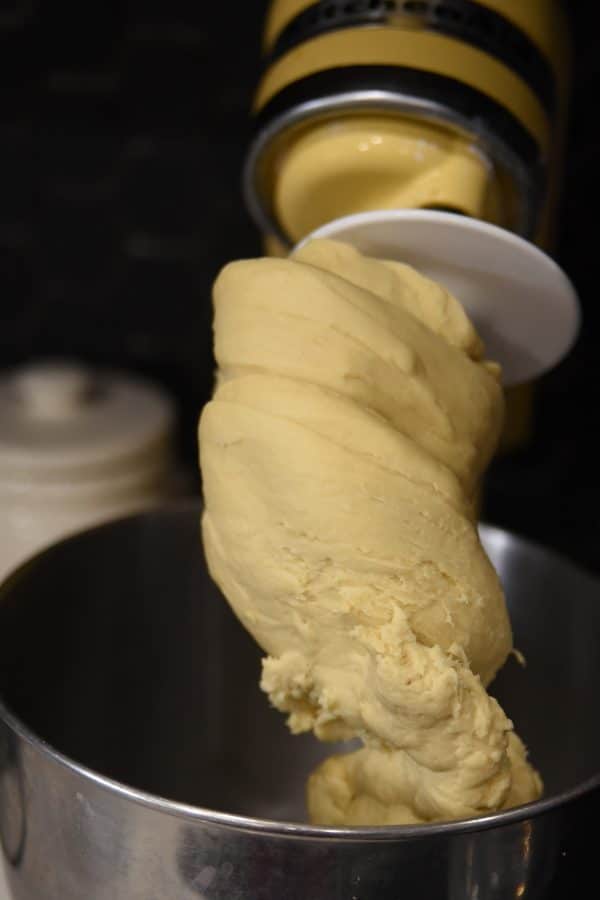
You can absolutely make sour dough bread mixing and kneading by hand – I mean, this is how they’ve been making bread since long before a mixer (or electricity) even existed.
And even with a mixer, I still recommend some hand kneading. However, I do find that a stand mixer helps significantly with the process.
I usually use my Kitchen Aid Artisan, though I really should be getting out my
Whatever stand mixer you use, make sure you use the dough hook. It’s essential!
Large Silicone Bread Mat
I recently got this silicone baker’s mat, and it is LIFE-CHANGING. It is completely gigantic, but I love it. It’s non-slip, has measurements on it, and is large enough for big batches of bread. I HIGHLY recommend getting one of these.
Sourdough Starter Tips
Try, Try Again
There’s a learning curve with any bread making – but it’s especially there with sourdough.
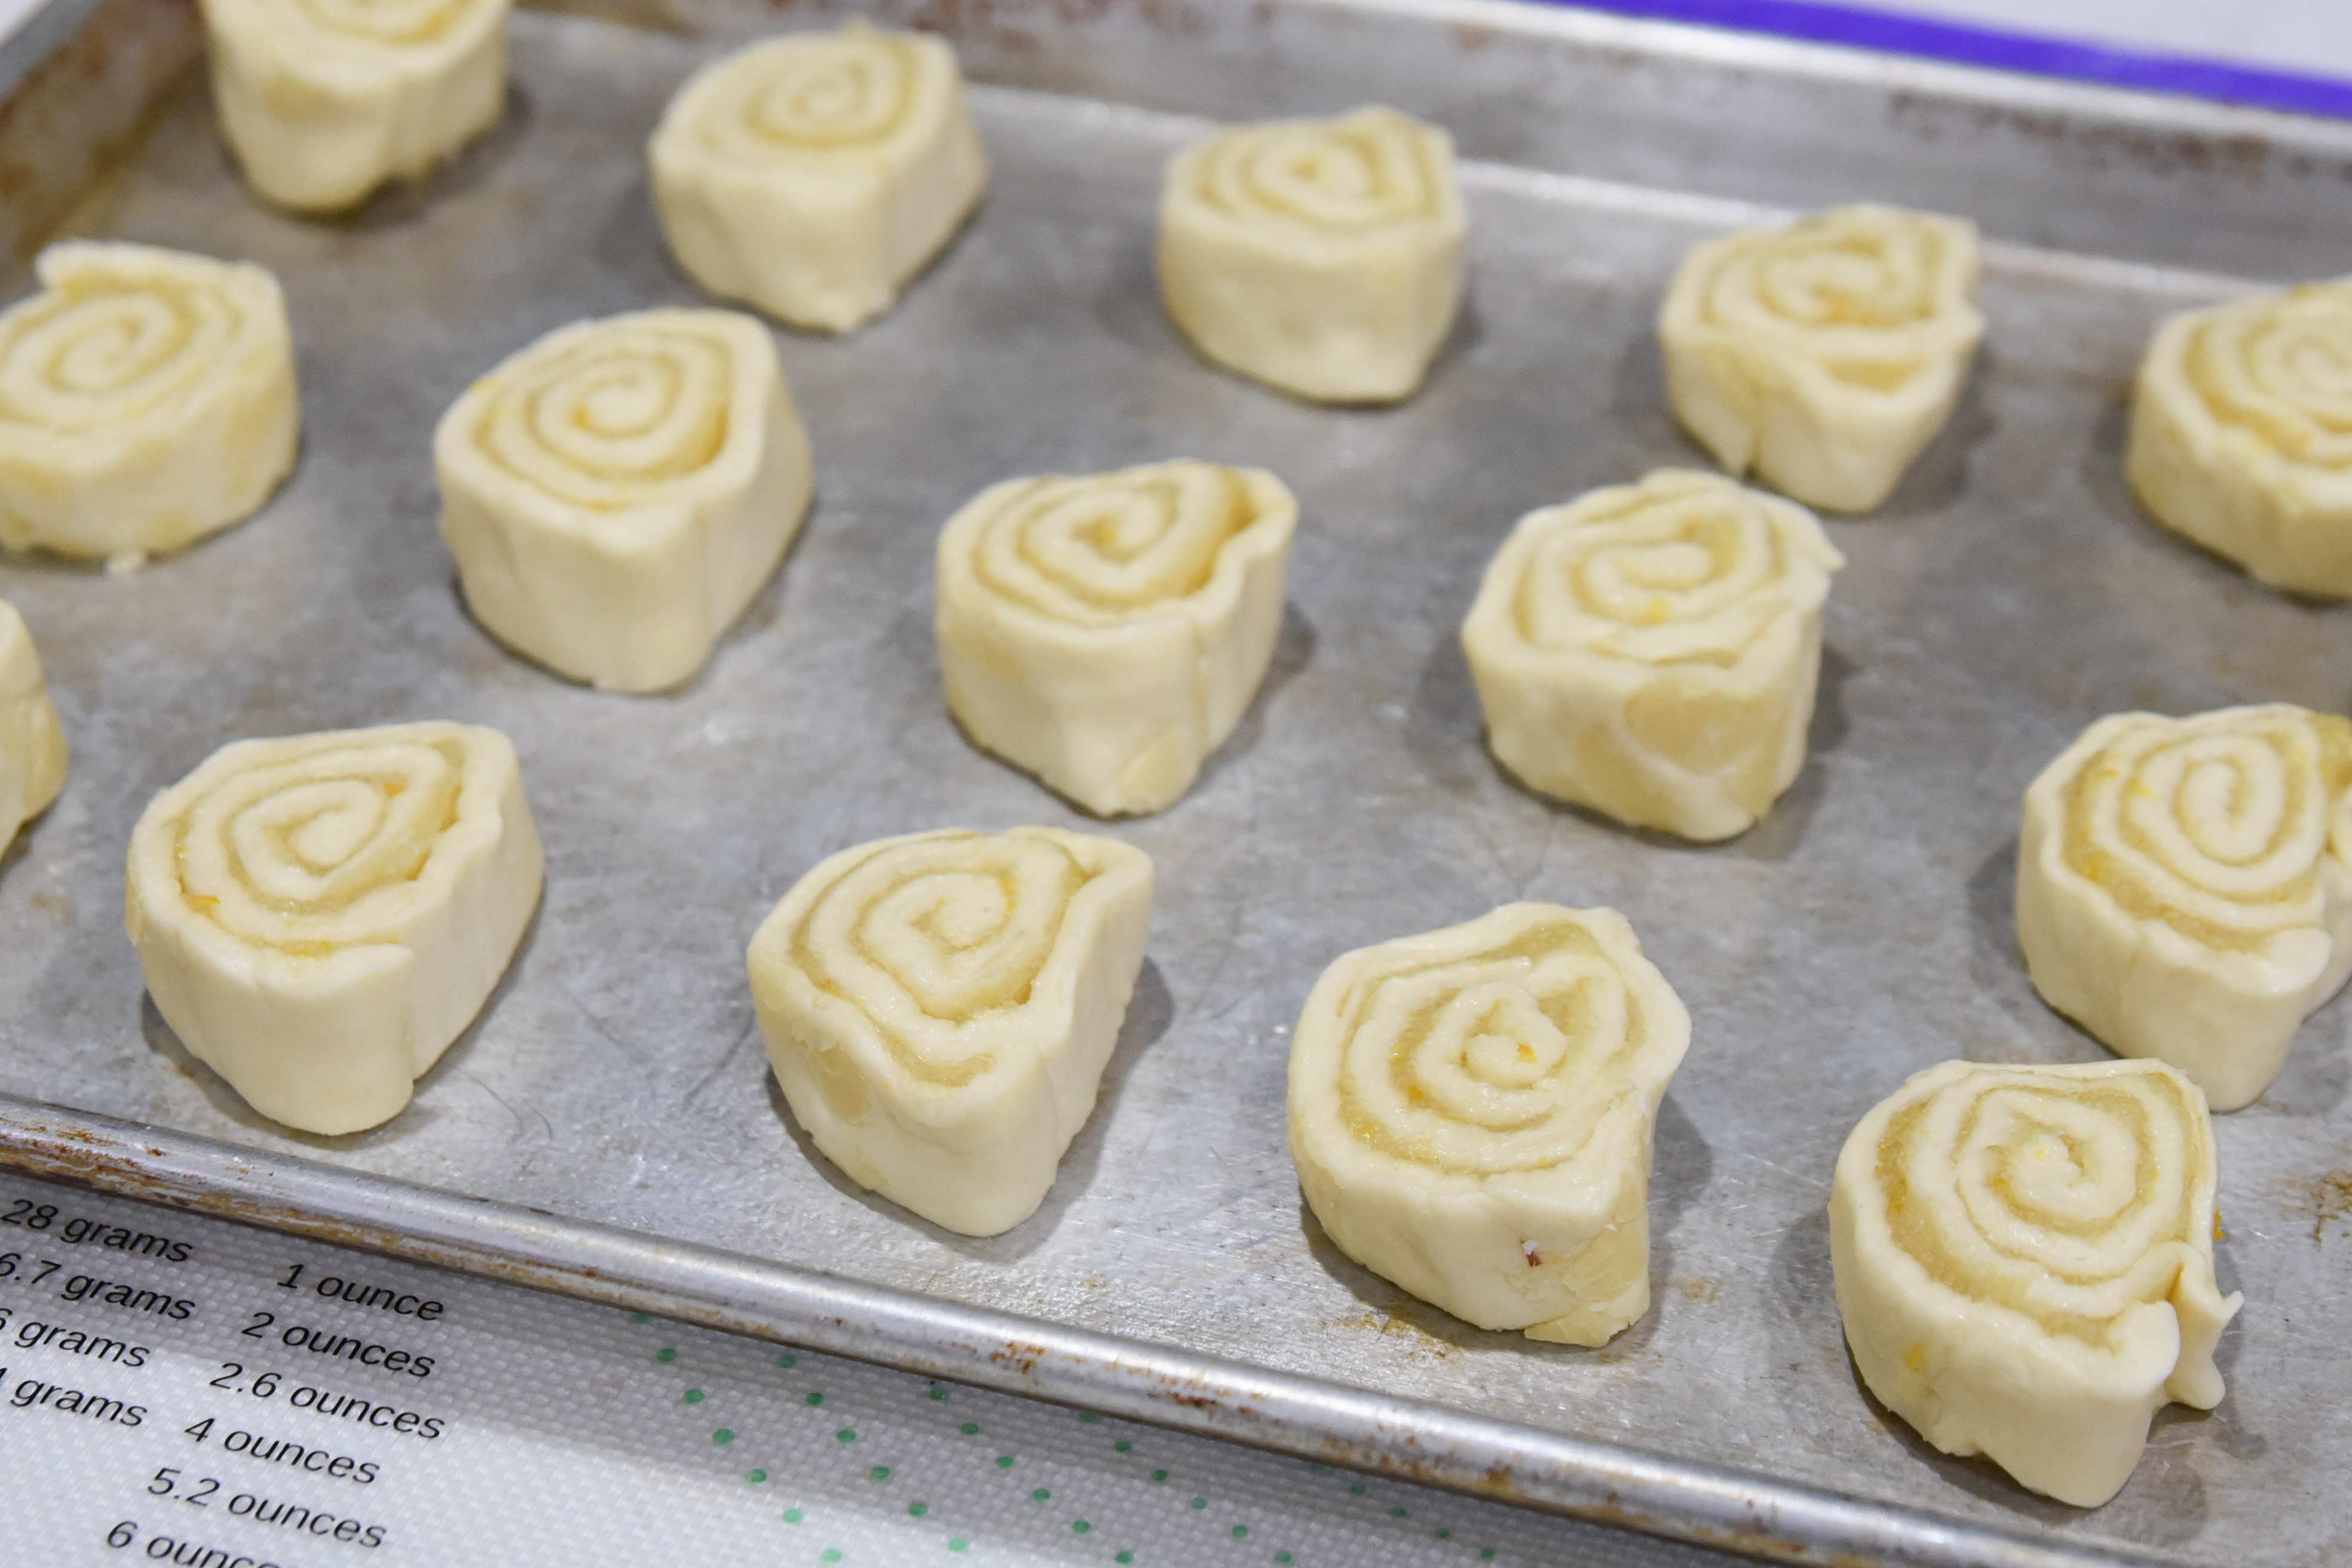
I have had some definite fails – such as my orange rolls. The rising wasn’t quite right, and they ended up hard as a rock. It was so sad!
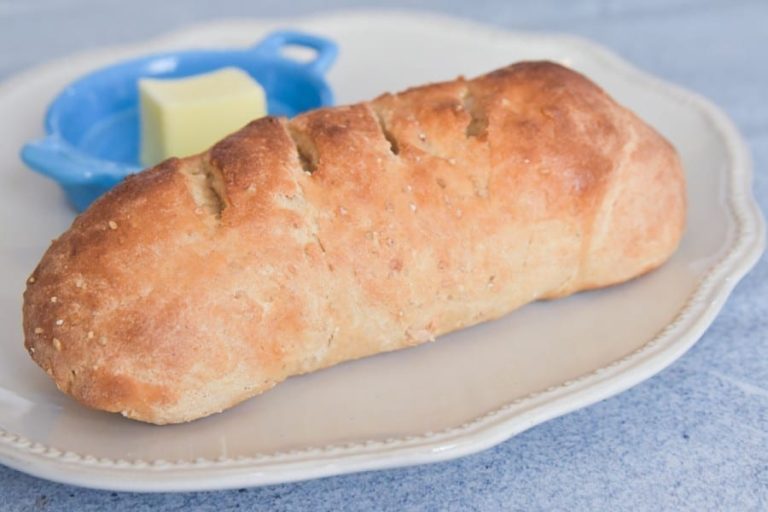
But I’ve kept experimenting and have had some amazing success. For instance, I couldn’t believe how delicious the sourdough sandwich bread I made the other day was. I don’t think I’ve ever had something so soft and delicious.
Don’t throw away the discard

When I first started growing my sourdough starter, I cringed daily as I threw away the “discard”.
I know that doesn’t sound very appealing, but it’s just the extra starter that you don’t use to maintain your starter or for baking. If you kept feeding all of it, it would become monstrous quickly! Some people keep a very low discard starter, though I like discard recipes, so I maintain mine around 1/2 cup.
I was excited when I discovered discarded recipes – and honestly, they have become something I really look forward to making.
You mostly use them in recipes that don’t typically require yeast or too much (if any) rising time. But they are a great way to ensure that your discard doesn’t go to waste.
I will sometimes use it immediately, or I’ll keep it in a container in the fridge until I’m ready to use it. We have made muffins, pancakes, pretzels, and my favorite every Saturday – pizza (check out my excellent sourdough pizza crust here).
You can store your discard in the fridge for quite some time!

Getting More Starter
Many recipes call for 1 cup or more of sourdough starter—and if you are only maintaining about 1/2 cup at a time, that can be a little tricky. Or perhaps you want to share your starter with someone else!
I was so stressed out when trying to figure out how to get more…and I felt silly when I realized how easy it was.
If you want more starter, don’t discard any when you go to feed it. Just add equal parts water and flour in the normal amounts you want. If it’s an active starter, it should bubble up within a few hours. Keep adding more every time it doubles until you get the amount you need.
Rise time is a long time
Making sourdough bread is not a quick process. It requires a lot of rising and waiting, which is essential for the fermentation process.
But you need to make sure you give yourself enough time. I typically will start my recipes the night before I need them, because you want at least a good 12 hours for most recipes.
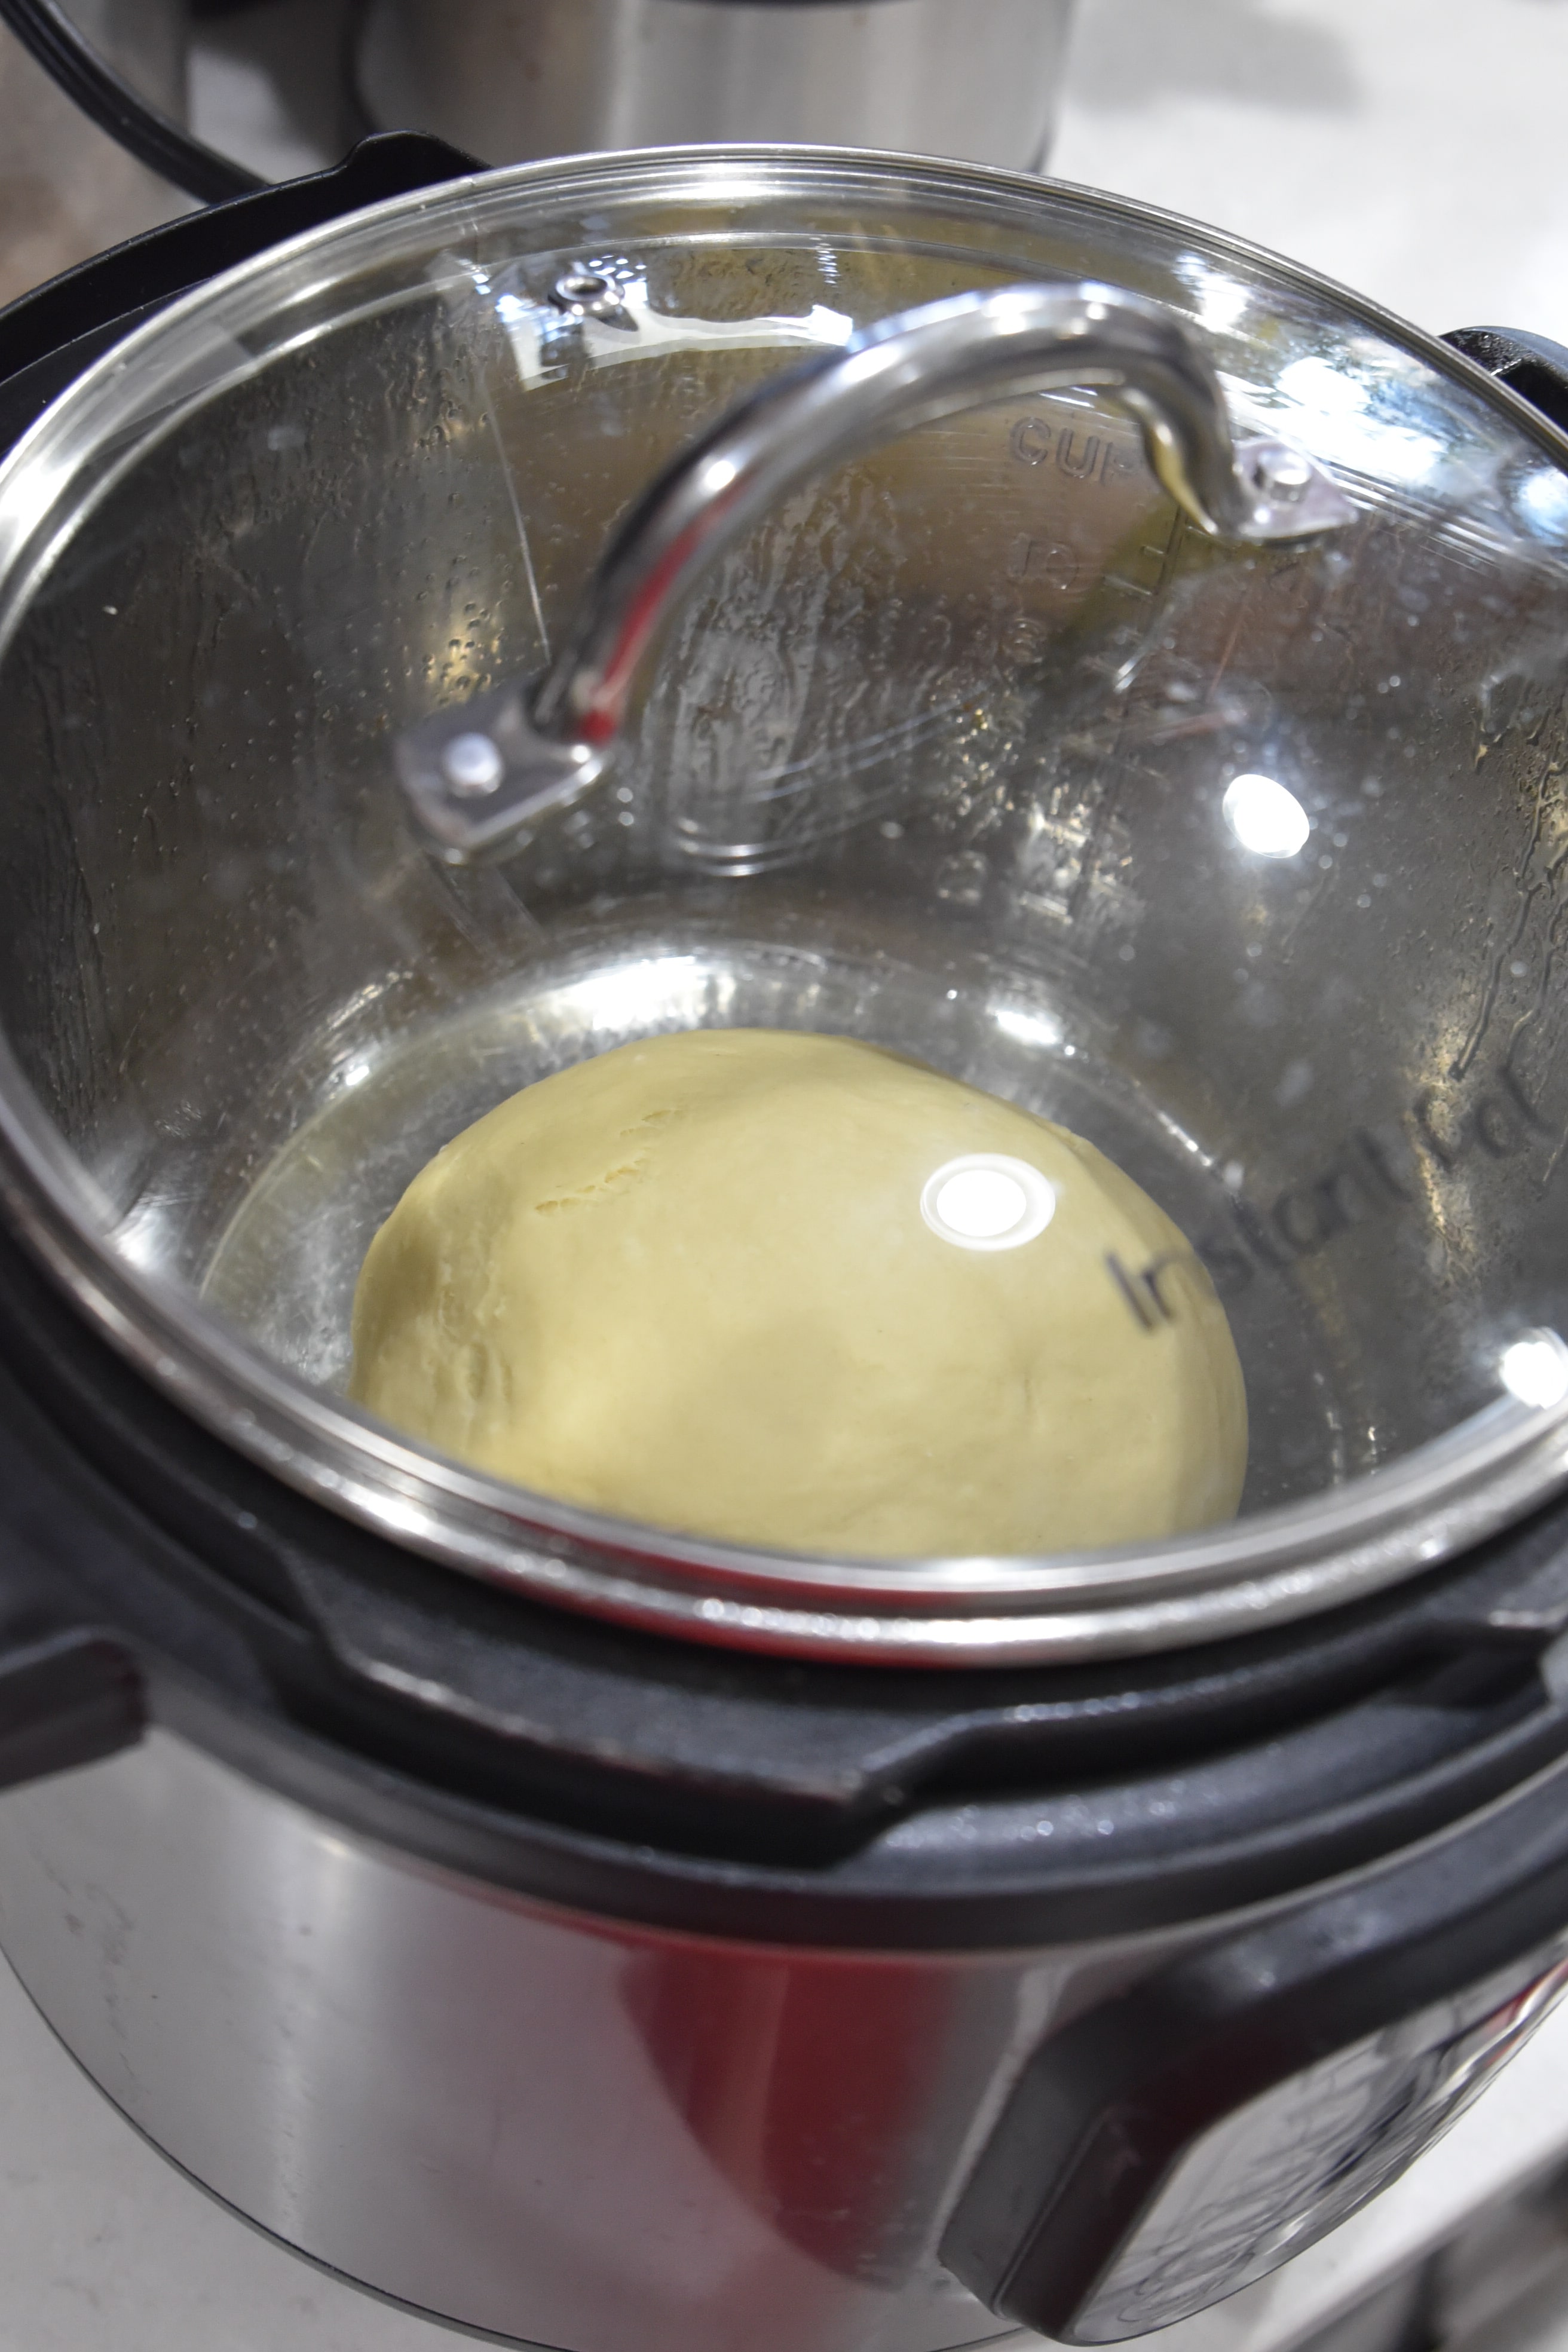
I did find a “hack,” though – if you find yourself in a pinch. If you have an Instant Pot, you can 1/3 or half the time it rises by putting it in the Instant Pot on yogurt mode with a glass lid. I don’t think you’ll get all the benefits of a full fermentation, but it’s nice if you started later than you meant to.
Don’t leave your window open
One night Forrest left the window open downstairs because it was a warm night. Well, he didn’t realize that my starter was sitting close by.
The next morning, it was in pretty sad shape—it wasn’t bubbly at all, and I was convinced it was ruined. I made a recipe with it the next day, and it rose a little bit but not much.
However, I was able to nurse it back to life with feedings every 12 hours and keeping it in a warmer spot. I was actually quite impressed with my ability to revive it!
But learn from my mistakes – don’t leave your window open if you have your starter anywhere nearby. However, if you do, not all hope is lost. I have a very active starter now!
Try different recipes
Don’t feel like you are limited to just making a loaf of bread. While that’s what most people probably think of, there are lots of non-loaf sourdough recipes you can make. I am itching to try cinnamon rolls one of these days!
Signup below for our favorite sourdough recipes:
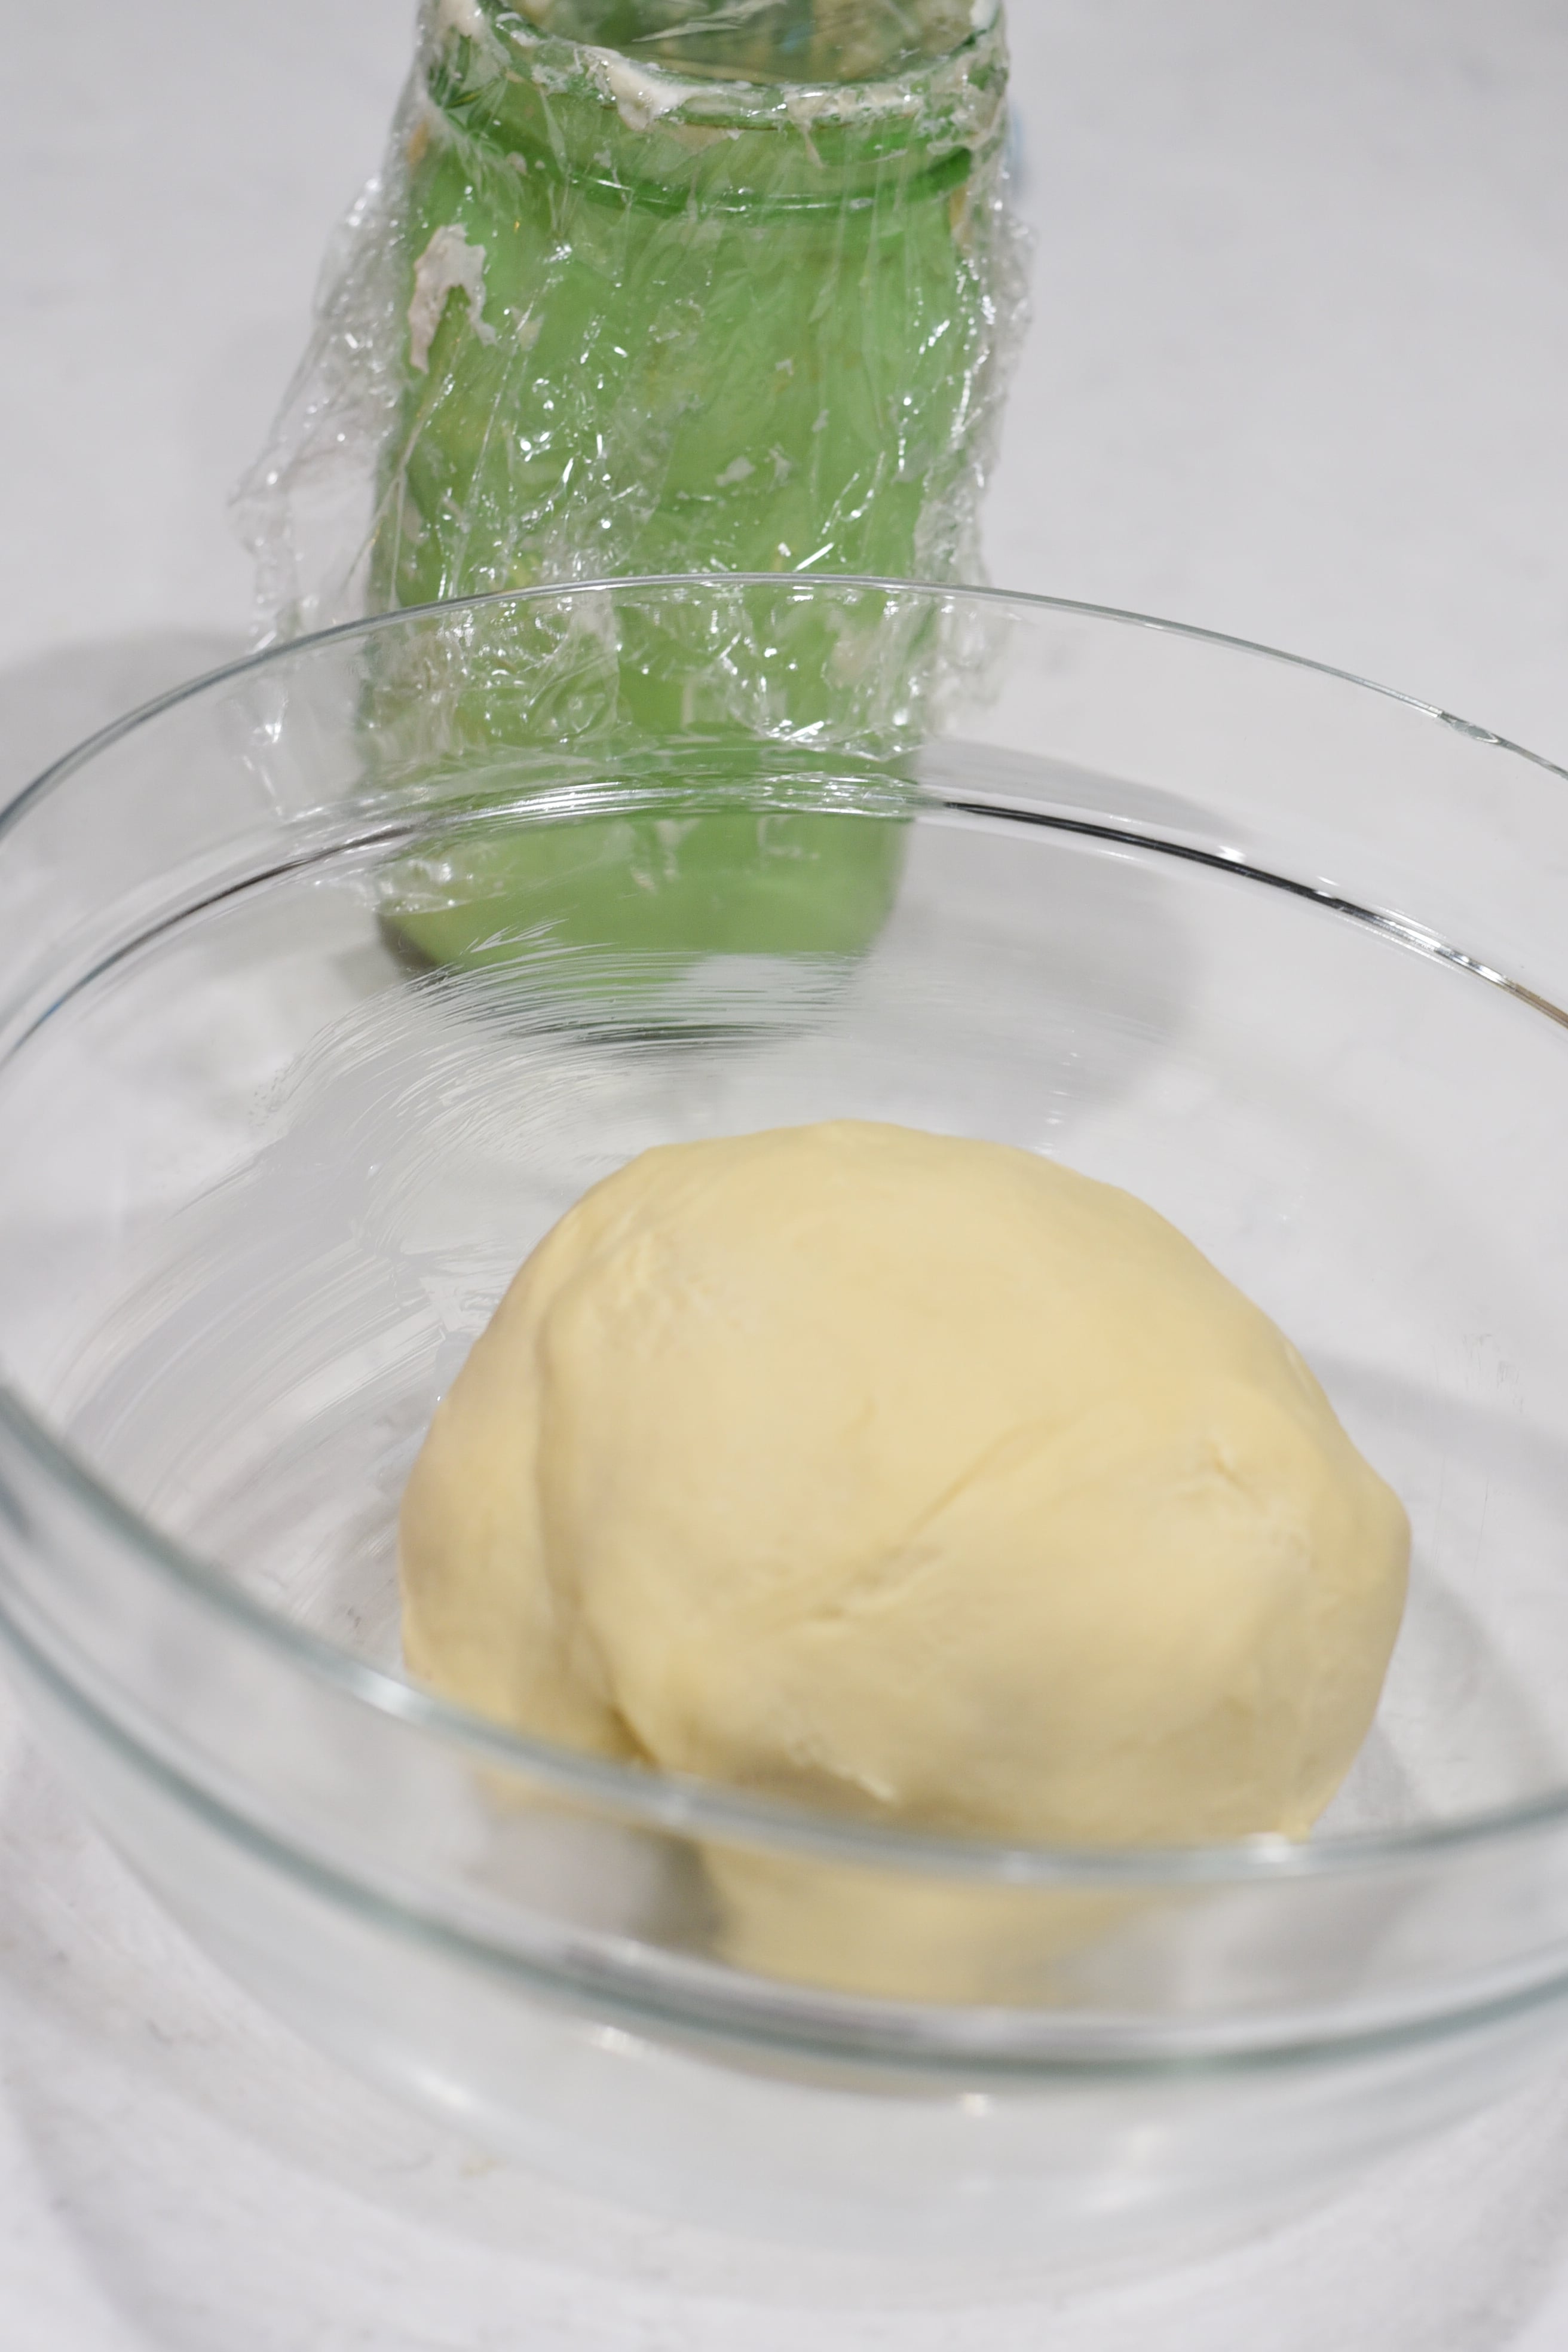
It’s okay if the starter thicker
Which I first started developing my sourdough starter, it just seemed to thick. I’d seen other starters – and I remembered the one I used to have – just seemed a lot more liquid-y.
However, I came across this article about sourdough starter consistency, and it made me feel better when I read this:
As long as the starter is bubbly, has a pungent aroma, and is rising and lowering its levels after feedings, your starter will be happy to ferment your bread no matter what the consistency is.
I’ve switched flours many times over the years when feeding my starter, from wholemeal to rye, to different brands of strong white bread flour. At the moment I’m happy with my strong white starter, but whenever I switch brands, I notice the consistency of my starter changing. It will become extra runny, or extra thick, according to which flour I am using.
But has it made a difference to how my bread turns out? Absolutely not. My bread comes out with consistent results no matter how runny or thick the starter was, as the method I use (and teach) goes by the feel of the dough, which will mean the water content of the dough will always be adjusted accordingly. And this is the reason why the consistency of the starter is less important to the overall result of the bread.
Float test
Not sure if your starter is active enough? Just do a float test! I wish I had learned about this earlier because I think it would have made some of my initial bread a little more successful.
It’s very simple to do: Fill a cup with lukewarm water. Drop a small piece of the sourdough into the water. If it floats, it’s active enough to bake with. If it drops to the bottom, it needs to sit out longer or be fed again.
Sourdough isn’t always super sour
When people hear sourdough, they imagine something that’s, well, sour. And honestly, that was my experience with many sourdough breads that I had purchased from the store.
However, none of the breads I have made have been really sour. Yes, there’s a bit of a sourdough taste to them, but it’s been nothing that has turned people away from eating it!
The longer it ferments, the stronger the taste will be. So if you let it rise for a long time, you can expect it to be slightly sour. However, we haven’t had anything really sour after a 12-hour rise!
Specks might be bubbles
I got my starter out a few weeks ago, and I was devastated! I thought that it had mold when I saw little black specks all over it.
Starters can mold, and someone had just told me they had to throw theirs out and start all over due to mold, so I was preparing for the worst.
Well, I started mixing it around, and I realized the specks were actually just air bubbles! Not mold specks at all. So if it looks like there are black specks…it might just be air!
Use a Food Scale
I have never been one to use a food scale to bake until recently – but it really makes a difference with baking.
I was having trouble with my Starter until I used my food scale, and I realized how off my 1/2 cup measurements were!
I think it also helps when you are actually baking because you can get more precise measurements for flour – and if there’s one thing I’ve learned about flour is that it’s very easy to use too much!
Tap water
As I started researching sourdough starter, I saw a lot of people say never to use tap water.
However, on the King Arthur recipe, it said that as long as your water isn’t heavily treated, it’s not a problem.
We have filtered water in our fridge, but I’ve just used tap water with no problem. So if you’ve been hesitant to start because you don’t have tap water, you may still be able to!
If you need a new water filter, we actually really like our Berkey Water filter. You can read our full Berkey review here.
Converting Dry Yeast to Natural Yeast in Recipes
I have had the hardest time finding a simple method for replacing dry yeast with natural yeast. I find some complicated ideas online, but one of my favorite Instagram accounts – just.ingredients – posted this a while back. I’m not sure if it’s an exact art – but this is a good place to start.
Remove the water and instant yeast measurement and replace with one cup of natural yeast!
Can Sourdough Starter Go Bad?
It can, but a well-maintained sourdough starter is going to be pretty hard to kill. Here are a few things to look for that might mean it’s time to start over:
- Mold – it can be various colors and often fuzzy
- Bad Bacteria – any orange or pinkish tinge or streak
It may start to develop a “hooch”, which is just a some liquid on the top. This doesn’t mean it’s gone bad – you just want to pour it off before you use it. It typically just means that your sourdough starter need to be fed!
Not For You? Try This
Sourdough starters are not for everyone! But if you still love high-quality, sourdough bread products, be sure to check out our friends at
And there you have it – everything I wish I had known and that I’ve learned through this natural yeast/sourdough starter journey. Please comment with any tips you have or recipes that you love. We will share some of our favorite recipes over the next few months!
Other Articles You May Enjoy:
- Copycat Texas Roadhouse Rolls Recipe
- How to Make a Bread Bowl from Frozen Roll Dough
- The BEST Lion House Rolls Recipe
- Top Health Benefits of Balsamic Vinegar and Olive Oil
- The BEST Little Caesar’s Italian Cheese Bread Recipe
- How to Make a Bread Bowl from Frozen Roll Dough
- Easy Sourdough Zucchini Bread Recipe